Obtaining Images from SolidWorks
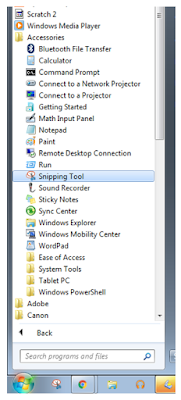
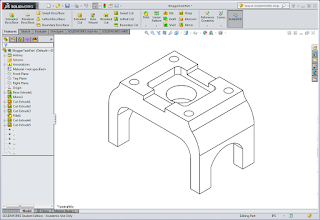
The easiest way to grab images from SolidWorks (or any other program/window on your PC) is to use the Snipping Tool utility built into Windows. You can find it by searching for "snipping tool" or looking for it in All Programs/Accessories.
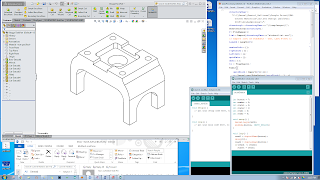
The tool is pretty self-explanatory - use it to highlight an area of your screen and then choose to either save the selected region as an image - for most applications save as either jpeg or png, or copy the image to the clipboard,
The saved images can either be used as is and uploaded blogger for use in your blog or you may choose to edit or annotate your image.

Sometimes the image that you want to capture may include a pop-up menu or some other on-screen item that disappears when you activate the Snipping tool. These images are best obtained using the "Print Screen" key.

Pressing the Print Screen button will copy an image of the entire screen to the clipboard.

Pressing ALT + Print Screen will copy an image of the active window to the system clipboard.

Saving and Simple edits to images captured using the Snipping tool
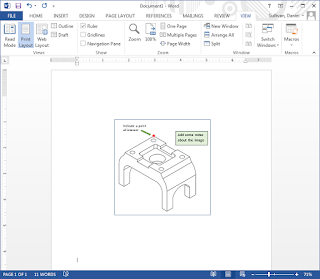
Once you have an image you may want to crop it, add notes to it, add some additional graphics or maybe just put a frame/border around it. Most of these operations can be accomplished using the image editing tools in Word or PowerPoint,
 Once you have the image that you want in your clipboard you need to be able to save it as an image so that you can upload it to your blog. One of the easiest ways to do this is to do this is to paste the image into Word and then right click on the image and select the "Save as Picture" option.
Note that this option saves the entire image and will ignore any cropping or other edits that you have made in Word.
 Once you have the image in Word/PowerPoint you may wish to crop the image, add some text and other graphics and even add a border. Once this editing is complete, the easiest way to save the new image is to again use the Snipping Tool to capture the image,